In today’s connected world, laptops are no longer confined to small screens. Many people extend their displays to TVs for work, entertainment, or sharing content with others. Whether you want to showcase a presentation, stream a movie, play a game, or share photos with friends and family, linking a Windows laptop or a MacBook to a TV has become a breeze. So, without further ado, let’s take a look at how you can connect your laptop, both wired and wireless, to your TVs.
How to Connect Using a Cable Connection
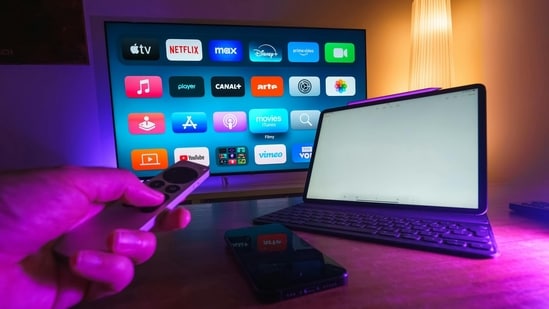
The most direct way to link a laptop to a television is through an HDMI cable. Most TVs and laptops support HDMI, making this the simplest option. To get started, connect one end of the HDMI cable to your laptop and the other to the HDMI input on your television. Once connected, both audio and video usually transfer automatically.
However, not all laptops come with a dedicated HDMI port. Many modern MacBooks and slim Windows models only provide USB-C ports. In such cases, a USB-C-to-HDMI adapter works as the bridge. This adapter allows the laptop to transmit video and sound to the television as if it had an HDMI port.
To ensure the best display quality, you may need to adjust resolution and refresh rate settings. On Windows, right-click the desktop and choose “Display settings.” On macOS, open “System Preferences” and select “Displays.” From there, you can fine-tune the resolution so the TV shows the highest possible picture quality.
Also read: These iPhones and MacBooks are now vintage: Check if yours is on the list
How to Connect a Windows Laptop Wirelessly
Cables are reliable, but many prefer wireless connections for convenience. Modern Windows laptops running Windows 10 or 11 can project screens wirelessly to supported TVs or streaming devices.
First, ensure that both the laptop and TV are on the same WiFi network. On Windows 10, open the Action Centre at the bottom right corner, select “Project,” and then choose “Connect to a wireless display.” A supported TV or media device will appear, and you can connect instantly.
On Windows 11, right-click the desktop, select “Display settings,” and then go to the “Multiple displays” section. Choose “Connect a wireless display” to see available devices. Once the TV is selected, your laptop screen will appear wirelessly on the larger display.
{{/usCountry}}On Windows 11, right-click the desktop, select “Display settings,” and then go to the “Multiple displays” section. Choose “Connect a wireless display” to see available devices. Once the TV is selected, your laptop screen will appear wirelessly on the larger display.
{{/usCountry}}Also read: Can’t tell real from AI photos online? This search filter makes all the difference
How to Connect a MacBook Wirelessly
For Mac users, Apple’s AirPlay feature offers a seamless way to link to televisions. Many recent TVs from brands such as Samsung, LG, Sony, and Vizio include built-in AirPlay support. If your TV doesn’t support AirPlay, an Apple TV device can serve as the connection point.
To start, ensure your MacBook and TV (or Apple TV) are connected to the same WiFi network. On your MacBook, click the Control Centre icon near the date and time, then select “Screen Mirroring.” Choose your TV or Apple TV from the list of devices. Some TVs may display a code, which you need to enter on your MacBook. You can then decide whether to mirror the screen or extend it as a secondary display.
Mobile finder: iPhone 16 Pro Max LATEST price, specs and all details