
 E-Paper



Making ghewar at home this Sawan? Here's how to get it right
While a host of foodies are sharing their attempts to prepare ghewar, chefs share the hacks that can help you get that perfect honeycomb texture at home.

 Prefer HTon Google


Ghewar is synonymous with Sawan and Teej, but making the festive sweet at home is a different story. Its delicate, honeycomb-like texture depends on a batter that is thinner than expected, fat at the right temperature and a pouring technique that takes some practice. Get any one of these wrong and the result can be dense, greasy or uneven instead of crisp and lacy.
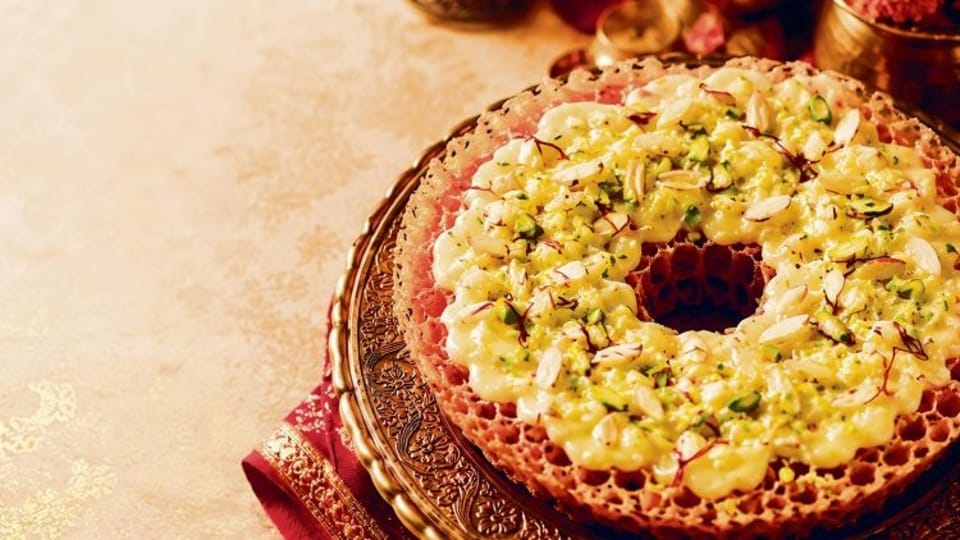
A number of home cooks are attempting the seasonal favourite ahead of the festive season. Some are sharing stories of their failed attempts on social media, while some end up celebrating success. People are also trying mini ghewars instead of going all out in their first attempt. We asked experts to share the lesser-known hacks and troubleshooting tips they swear by for getting homemade ghewar closer to the professional halwai version.
Make a thin batter
The delicate texture of ghewar depends on a batter that is thinner than expected. Chef Rinchen Wangdi Bhutia shares, “The batter should be almost like buttermilk.” For a traditional honeycomb ghewar, start by whipping ¼ cup melted ghee with ice cubes until creamy. Gradually add 2 cups all-purpose flour, 1 tbsp gram flour, ½ cup cold milk and 3 cups ice-cold water, alternating the ingredients as you mix, to create a smooth batter.
Strain before you fry
A smooth batter means better pores. Bhutia says, “Always strain the batter before frying. Even very tiny lumps can interfere with the way the batter flows.” If you are using a blender to create a batter, food content creator Anushka Rawat suggests pulsing it for 8-10 seconds at a time, then letting the jar rest for 10 minutes before straining.
Ditch the ladle
For greater control over the pour, Rawat suggests transferring the batter to a squeeze bottle. She recommends, “The way you pour the batter has a huge impact on the final texture. Using a squeeze bottle instead of a ladle gives you much better control over the flow and lets you pour slowly and evenly. Pouring from a little height will also help create the honeycomb structure, and you should let the bubbling settle slightly before adding the next layer, rather than rushing the process.”
Get the kadhai depth and oil temperature right
A deep kadhai matters as much as the right temperature, says Rawat. She shares, “It’s not just about getting the ghee or oil hot; you also need enough depth in the kadhai. The batter needs to fall through the hot fat before it rises back up, so a shallow pan can give you a flat, uneven ghewar.”
Don’t drown it in hot sugar syrup
Once the frying is done, the final step is all about timing the sugar syrup or chashni. Bhutia says: “Once the ghewar is fried, don’t pour boiling sugar syrup over it immediately. Let it drain and cool slightly first, and keep the chashni warm rather than piping hot. This gives the ghewar time to settle and absorb the syrup without becoming soggy. You want the chashni to add sweetness while the ghewar still retains that crisp, delicate texture.”


